Introduction
The apt-get is a feature originally developed for the Debian distribution that allows the installation and the update of packages (programs, libraries, functions, etc) in Linux and easy way to need. This article will show you how to use its main resources.
It is worth noting at the outset that the apt-get must be used by a user with administrator privileges.
What is apt-get?
In all operating system there is a need to install software for the use of the computer to make sense. The problem is that, depending on the circumstances, the installation process is labor-intensive, forcing the user to look for files indispensable to the software (dependencies) or edit scripts, for example.
To deal with this and similar problems, the developers of the Linux distribution, Debian created APT (Advanced Packaging Tool), a tool for installation and upgrade of packages (and their dependencies) of fast and practical manner. Does not take long for the APT to be used on other distributions in addition to of Debian, such as Ubuntu.
How to use apt-get
Updating the list of packages
When apt-get is used on Linux, the command to query a file named sources.list, usually available in the directory /etc/apt/. This file tells you where are the places (repositories) in which it will get the required packages by the user.
By the file /etc/apt/sources.list APT knows where to look for the packages requested. The problem is that he needs to know what is installed in the operating system to know exactly what search. If you do not have this information, the APT does not you know that certain essential package to software that is not is installed and does not arrange for its installation.
To deal with this situation, the APT uses the an own database and compares it to the repositories registered in the sources folder.list to know when a package is up to date or when there is a new version of a particular application. To make APT run this task, just type in a terminal following command:
apt-get update
Installing packages
Before you install a program, it is necessary to perform the the command shown in the previous topic for APT to know what is and that is not installed on the system. This is why that this command is explained first.
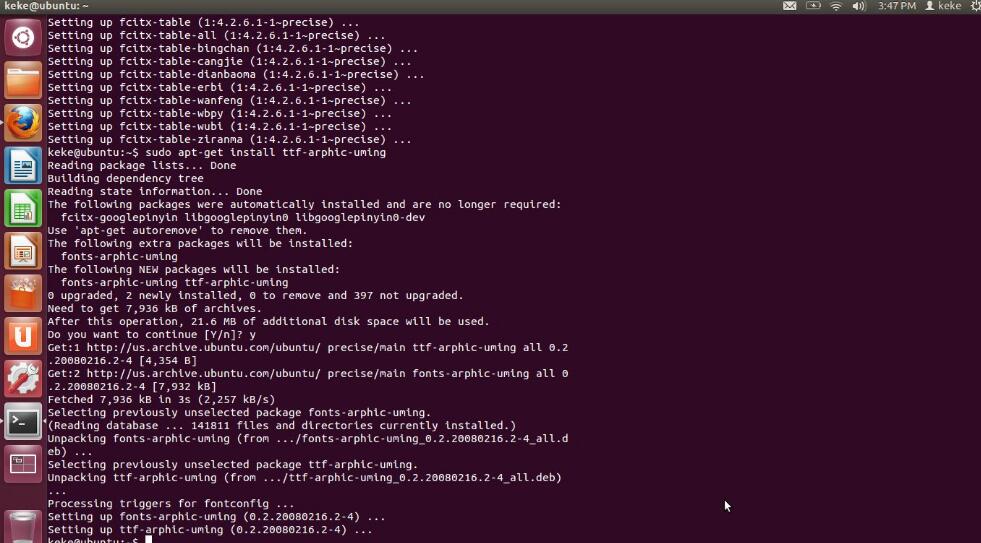
After having run apt-get update, just type the following command to install the desired packages:
apt-get install programname
For example, suppose that you want to install the email client Thunderbird. To do this, simply give the command:
apt-get install mozilla-thunderbird
When this command is executed, the APT search in the archives the matched packages and installs them immediately after you download them.
Removing packages with apt-get
If you do not wish to use certain software, you can uninstall it by using the command apt-get. For this, simply type:
apt-get remove programname
For example, suppose that you want to uninstall Thunderbird. The command will be as follows:
apt-get remove mozilla-thunderbird
It is important to note that the above command removes the program, but maintains the configuration files, if they exist. To uninstall total, which includes files extra, you should use the command:
apt-get –purge remove programname
Upgrading packages with apt-get
New versions of software are released often because they add fixes security, features or optimizations that to improve the performance. With the apt-get it is possible to obtain and install newer versions of packages. To do so, simply enter the command:
apt-get-u upgrade
The parameter -u serves for the apt-get show package that are being updated, therefore, its use is optional.
An important detail: in the update packet, also it is important to run before the command apt-get update.
Discovering package names
You saw that it is necessary to know the name of a package to be able to install it. In many cases, the name follows the same name of the application. For example, if you want to install the program to chat XChat, just type:
apt-get install xchat
However, it is not always the name of the package is trivial. Many times we don’t even know the name of the tool, we are just to looking for a software that corrresponda the particular need. Whatto do, then?
In APT, you can use the following command:
apt-cache search term
For example, suppose you want to search for games for Linux. The command to be used is:
apt-cache search games
The sources file.list
You saw at the beginning of this text that the file sources.list indicates the locations or repositories where APT should fetch packages. It is possible to specify multiple servers, so it is important to understand how this file works to add, or if necessary, remove the repositories.
The sources.list contains a list of repositories, each added line by line. The first term, deb, indicates the type of package available at the store. The “deb” is indicated because this is the type file used as the package. The alternative is the extension deb-src, which indicates that the repository provides packages with the source code of the programs (useful to developers and developers).
The next term is the address of the repository server. It can be HTTP, FTP, file (local files), etc.
At the end of the line are the attributes that indicate, for example, to that version the distribution of the repository refers to.
Note that you’ll also find several lines with the # symbol at the beginning. In this case, the line will be ignored by APT, such as if did not exist, allowing you to disable temporarily the repositories or the inclusion of comments with the guidelines.
It is important not to forget to run the command apt-get update after changing this file, otherwise, the system will run the old version until closed and turned on again.
Ending
Users accustomed to other operating systems often to say that installing programs in Linux is a difficult task, which is not true. The APT is very intuitive in this task and learn how to use it requires little effort, even because, with it, you do not need to visit a particular site, download the packages and then install them.